
Configuring Samba with Webmin
The Webmin administration tool is a very powerful suite of web-based admin tools (for the Linux operating system) that have been around for some time. Webmin includes numerous modules covering nearly every aspect of Linux administration. In this article we will show how to install Webmin and use it to configure your Samba server. We assume you have successfully installed the Webmin and it is fully working! If not, please read the installation tutorials of webmin on this site’s Webmin section!
Using Webmin to Configure Samba
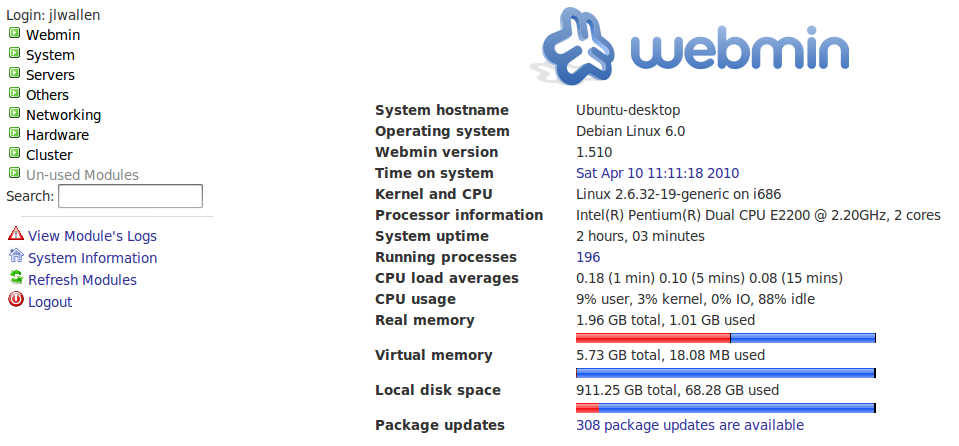
Visit your Webmin main page which, most likely, is https://localhost:10000. Give that url a try in your favorite browser. That url should bring up the Webmin main page. If you have installed it on remote server, URL may like http://IP_ADDRESS:10000.
From this main page click on the Servers link in the left navigation. When you click the Servers link it will expand to show you the various modules you have installed. Of those modules, Samba will be one. Click on the Samba entry to open up the Samba configuration page.
Now we are going to walk through the steps in order to quickly create a Samba share on your machine. I am going to assume a rather simple route – that you want to share out the /home directory to all users on the system and you want to give both read and write access to users. Here are the steps:

1. Click on the Create a New File Share from the top section.
2. In the new window you will need to enter the following information:
a) Share name: Give your share a name.
b) Directory to share: Choose the directory you want to share.
c) Comment: Add a comment if you need.
d) Leave the rest as default (we will change some of this next).
e) Click Save.
You will now find yourself back at the Share listing. You want to click on your newly created share so you can make some more advanced configurations. When your share opens up you will now find a few more options available:
- Security and Access control
- File Permissions
- File Naming
- Miscellaneous Options

The first thing you want to do is click on Security and Access control. In this window, you will want to take care of the following:
- Make sure the share is writable.
- If you want to allow guest access make sure it is checked.
- If you want to change host access do so in hosts to allow and hosts to deny.
- If you want to add valid users enter the users in the Valid users listing.
Once you have configured this section, click Save and you will be back at your share setup page.
The File Permissions is the next section. In this window there are four options you need to check:
- New Unix File mode
- New Unix directory mode
- Force Unix file mode
- Force Unix directory mode
If you want your users to have both read and write access to the share, you need to see all of these to 755. Once you have done that click Save. Of course within these configurations, you can really get granular with your Share set up. I am only showing you how to create the easiest Share with the most access.
Once you have your Share complete there is but one step left: add users to Samba.

User Configuration
Go back to the Samba module page on your Webmin installation and scroll down a bit. You will see the section for Samba Users. Click on the Convert UNIX Users to Samba Users link. On this new page (see Figure 4) click the Convert Users button and all of your existing users will be added to the Samba system. Now any user will be able to access your Samba shares.
Finally, go back to the main screen and click the Restart Samba Servers button. Your users should now be able to access the shares on that system.
A Few Tips
There are a few things you should remember.
1) If you add a new user to the system, don’t forget to convert that user to a Samba user.
2) If you need to add a new user to share access, don’t forget to do so through the Security and Access window of the share.
3) If you have Windows users that need to access shares, make sure they have an account on the Samba server that matches (both username and password) on the Windows machine. NOTE: This is only necessary when using SECURITY = USER.
Final Thoughts
Samba used to be an incredibly difficult system to configure. This is no longer the case. Whether configured from the command line, from the GNOME desktop, or from Webmin, just about anyone can get a Samba share shared out to users. Please note: This setup I have outlined does not create the most secure system. If security is a concern, you will want to make sure you go through this process again with a closer eye on security and sharing issues unique to your environment.

loading...


")
Related posts:


")
")


